AE86 ProjectS13 ProjectGalleryHome
 
menu.options
installs.subframe_collars
 

Installs Home

 
ae86.install

2 May 04
Approx. Time: 2 hours

Here are TechnoToyTuning's rear coilovers. They come equipped with KYB AGX 8-way adjustable shocks and Eibach 5.7kg springs, but if you want, you can specify whatever spring rate you want. For more info, you can read about them on TechnoToyTuning.com  Here is the install...


click to enlarge images
 
01.
Here's my AE86 with TRD Japan springs and Tokico HP shocks (Tokico blues). They work great, but time for an upgrade!


02.required_equipment
  • Car jack
  • 2 Jack stands
  • Ratchet with a 6" extension
  • 14mm socket
  • 14mm wrench
  • 3/16" hex wrench
  • Rubber mallet
  • Hammer or dead blow hammer
  • And, of course, the coilovers.


03.

Raise the rear of the car by the differential and support the car with jack stands under the frame. Never use the jack as a stand! Besides, you'll need it later... Also remember to put blocks in front of the front wheels. You don't want the car rolling forward and off it's stands.


04.
 

Lower the jack to let the axle sag down. Lift out the spring. Make sure to get the rubber seats with it and set it aside. Pictured at right is the old spring with the top and bottom rubber seats.


05.

Remove the 14mm bolt that holds on the bottom of the shock and tap the shock off with a rubber mallet.


06.

Now, up to the top side in the hatch (or trunk, for you coupe guys). My interior is already all stripped out, but if you still have yours fully equipped, you should only have to pop off the little cover. It should come off by hand, or pry gently with a small screwdriver.

Here we see the top of the Tokico shock. It's just like everything else out there. Using a 14mm wrench, hold the bottom nut still and put a 14mm socket on the top nut and remove it. Once the top nut is off, remove the bottom one. You'll either need to reach around and hold the shock still (so it won't spin while trying to remove the nut), or have someone hold it for you. I was able to use the ratchet with one hand while reaching around with my other hand to hold the shock still. I don't know if this is possible with the coupe.

Keep the bottom washer that came off the old shock. We'll need to reuse it later.


07.

Out with the old, in with the new...


08.

Here we have the T3 rear coilover. As with the old shock, remove the top two nuts and set aside the top washer and top rubber bushing. This leaves the 2nd rubber bushing, the delrin bushing and a metal washer left on top of the coilover. Set the coilover aside and we'll use it later to determine fitment after we've modified the wheel well for some extra clearance.


09.

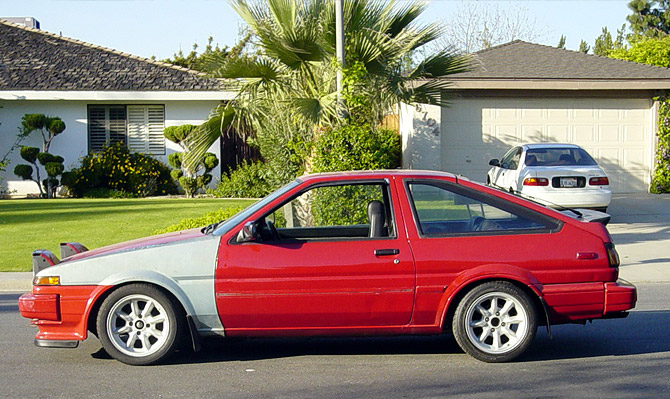
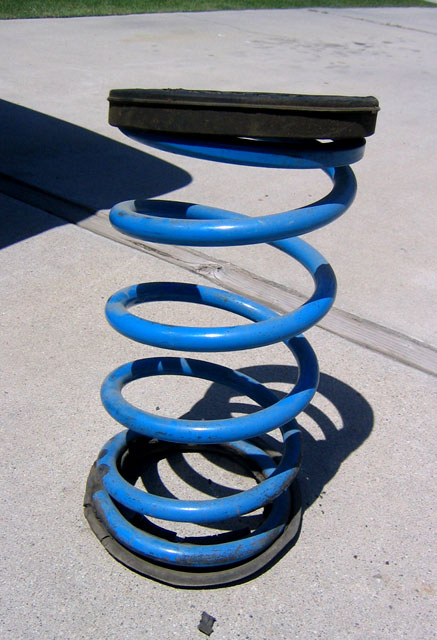
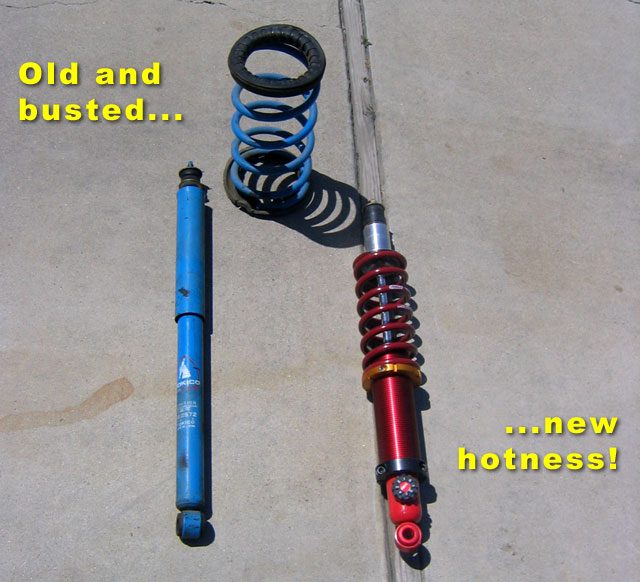
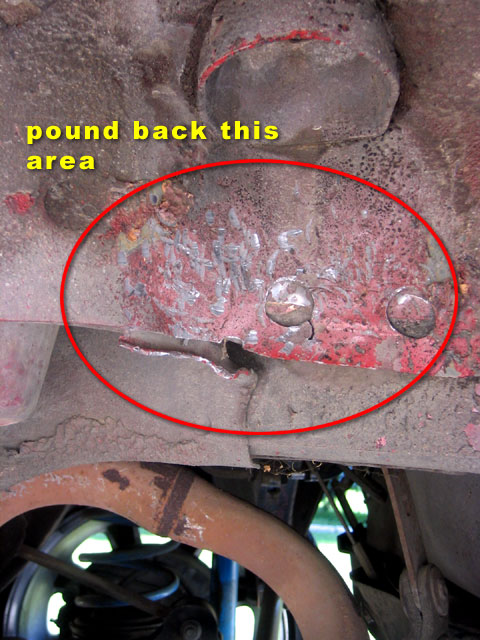
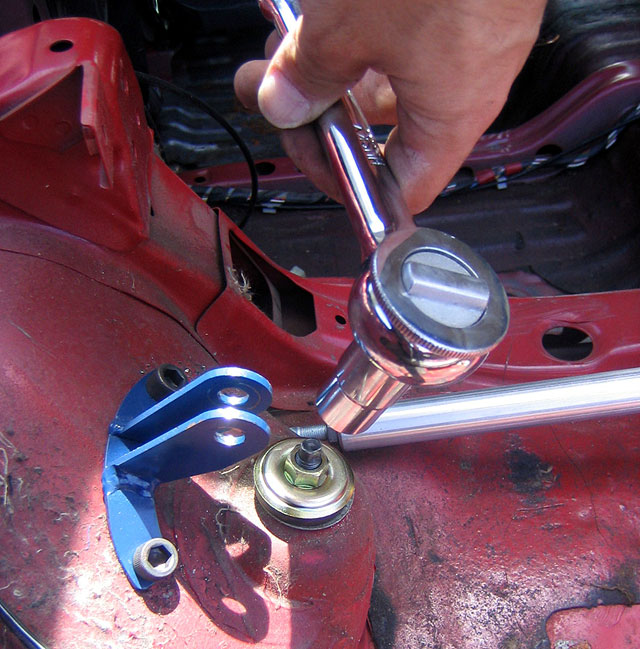
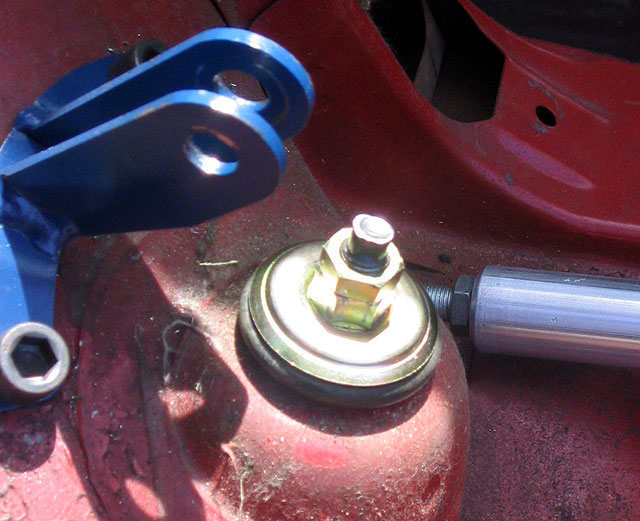
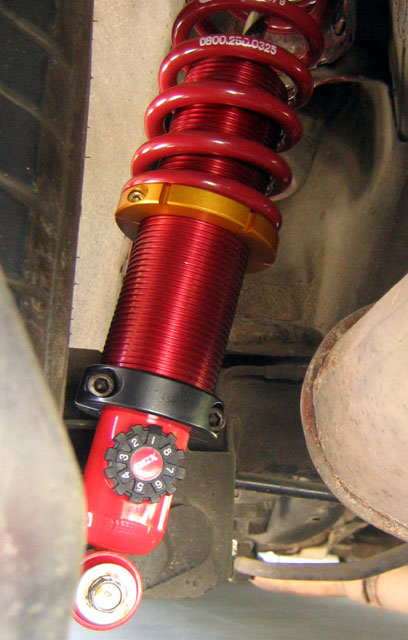
Here's where the painfu... errr... fun part begins. Originally, only a skinny little shock was supposed to go up through this area, so there's not quite enough room for a beefy coilover. So, we're going to pound back the chassis' sheet metal a bit to allow enough room for the coilover to get up there at the correct angle.

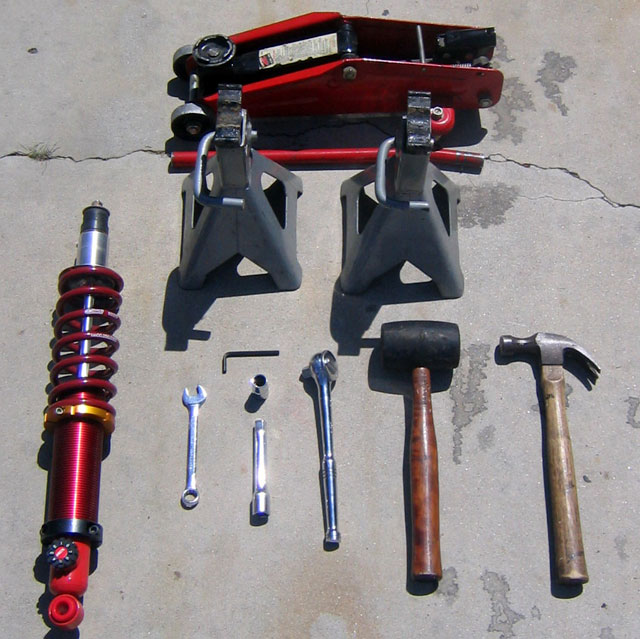
Preferrably, use a dead blow hammer (a regular one will suffice, but damage the paint and expose raw metal) and pound back the highlighted area about 1/8" to 1/4". This will create 
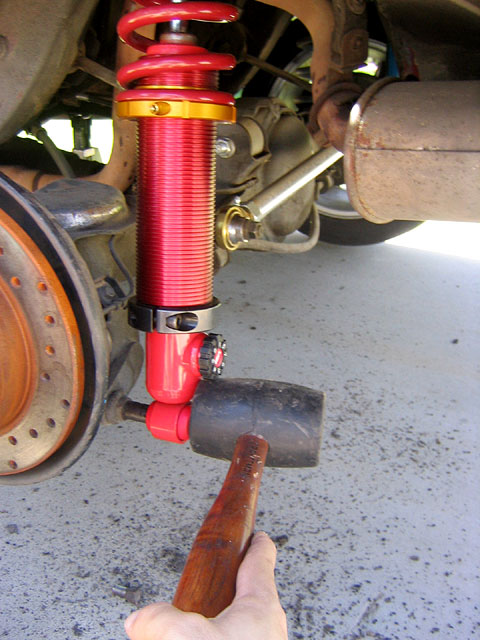
enough clearance for the new coilover. Periodically, put the coilover up into the hole up top to see if it will connect with the lower shock mount without hitting the chassis.

This part took the most time. I pounded on it for about 15-20 minutes, stopping every once in a while to check for fitment. I only had a small hammer, so it took quite a lot of work. A bigger hammer would be more effective.


10.

Once there is enough clearance, put the coilover on the bottom shock mount. The AGX's bottom bushing is a pretty tight fit, so tap it on with a rubber mallet. Then reinstall the 14mm bolt and washer.


11.

Once the bottom shock mount is installed and finished, put the jack under the axle and raise the jack so that it pushes the shock up into place through the top shock mount.


12.

Go up to the top side in the hatch (or trunk) and reinstall that bottom washer you saved from the old shock, then put on the new top rubber bushing that came with the T3 coilover, put the new top metal washer on, and put on the first 14mm nut. I didn't tighten the nut till it stopped. I just went till the rubber bushing looked pretty compressed and stopped.


13.

Then put the 2nd 14mm nut and tightened it against the bottom one pretty hard. Don't want that coming off! Loctite or Thread Lock is probably a pretty good idea too.


14.
 

The T3 coilover comes shipped with the spring perch set to about stock height. Make sure the hex bolt is loose and spin the spring perch down the threaded sleeve to achieve the desired dropped height. Once you've lowered it to the desired position, tighten the hex bolt with supplied 3/16" hex wrench.

I lowered mine about 2" to match the TRD Japan springs' drop in front.


15.

When I get the front coilover installed, I'll drop all 4 to about a 2.5" total drop. As you can see in the bottom picture, there is PLENTY of room to keep dropping. I believe the T3 specs say you can lower the car 4" with their coilovers.

Put the wheel back on and put the car back on the ground. Double check to make sure your height is right where you want it. If not, raise the car again, take the wheel off and adjust the spring perch. When you're done, repeat the process for the other side!


back on the ground and ready to run...